Have you received your Form I-20 and are wondering what the next steps are? In this guide, you will learn the simple 3 step process to follow after receiving your Form I-20 as a prospective U.S international student. The I-20 form is a certificate of eligibility for nonimmigrant student status.
What to do after receiving form I-20
These steps include reviewing and signing the Form I-20, applying for your F-1 visa and scheduling your visa interview appointment, and paying the SEVIS fee.
Reviewing the Form I-20
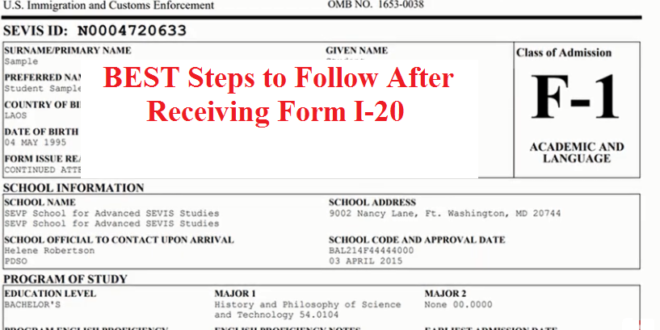
You’ve received your form I-20 which could have been delivered electronically or delivered by mail, the first thing you should do is to review the form I-20, pay close attention to the spelling of your first name and your last name and all the biographical information that’s contained on the first page of the I-20.
You would also want to review page three of the I-20 that contains instructions for you, the student who is going to be responsible for signing the Form I-20.
Signing the Form I-20
Once you’ve read and understood everything on page three of the I-20, and when you’ve checked that your information appears correctly on the I-20, you would then sign the I-20 in the Student Attestation section located at the bottom of page number one.
Your signature here on the I-20 should be in black ink, and the date you write on the I-20 should be the date you signed the I-20. For example, if you sign the I-20 on August 1, 2021, then the date you are going to write on the I-20 should be August 1, 2021.
If you happen to be under the age of 18 at the time you’re signing the form, it would also need to provide a signature and a date from your parent or Guardian. Again, this entry from your parent or Guardian on the form I-20 should be printed in black ink.
You should keep in mind that on the Form I-20, the Attestation section appearing in page number one is the one and only place that you’re ever going to write anything in. Once you’ve signed and dated form I-20 on page number one, your job is done.
If you’d like to learn more about the form I-20, you can find the linked below where I take a deep dive explaining what every section of the Form I-20 is.
READ: Understanding the Form I-20 for F1 Visa International Students (The Ultimate I-20 Guide)
Book an appointment for your U.S F1 Visa interview
The second step in this process is to book an appointment for your U.S F1 Visa interview. In order to do this, you would have to go to the U.S Department of State website and find the nearest U.S Embassy or consulate that is currently accepting F1 Visa interview appointment.
It’s possible that when you go to the U.S Department of State website, you may not be able to find any U.S Embassies or consulates that are currently accepting F1 visa interview appointment.
In such a case, you might need to look into making an emergency visa interview appointment with the U.S Embassy and Consulate in your home country. As it is quite possible that the U.S Embassy or consulate in your home country might be offering special treatments for students who are trying to enter the U.S on an F1 visa.
Paying for SEVIS I-901 Fee
Once you’ve been able to secure your U.S Visa appointment, preferably on a date that works best for you, you would want to go ahead and pay the service fee, which is also called the SEVIS I-901 Fee.
You should plan to pay a service fee and have a receipt of payment before you attend your U.S F1 Visa interview.
At the time of making this article, the service fee could be paid in three different options.
- The first way is the most common way, and that is by making an online payment;
- the second method of payment is by Western Union Quick pay;
- the third form of payment is payment in U.S dollars, made using a personal check from a U.S Bank or using a money order.
Note: You must have a complete and accurate Form I-20, which is given to prospective F1 and M1 students. If you’ve received the Form I-20 and it happens to contain an incorrect information, then you must contact your designated school official or your program sponsor.
A very important note about the SEVIS I-901 Fee is that if you have any dependents coming to the U.S on an F2, an M2 or J2 visa, they are not required to pay the service fee. The service fee is only required for prospective immigrants coming to the U.S on an F1, M1 and J1 Visa.
On the first entry, you would want to put in your service ID, which you can find this on the top left corner of your form it. You can also find this on your top left corner of the form DS 2019.
Then you enter your last name and your first name, as it appears on your form I-20 or your form DS-2019.
Finally, you would enter your date of birth with the birth month first, the birthday second, and the birth year last. Once you’re done, you click and submit. And if information is answered correctly, you will be taken to a page that accepts your online payment in the form of a credit card.
Once your payment for your SEVIS Fee is accepted online, a payment confirmation page will be generated. You are required to print out this confirmation page and present this as proof of your SEVIS Fee payment before you attend your F1 Visa interview.
In conclusion
As an F1 students who have received the Form I-20:
- The first step would be to review and sign the Form I 20;
- the second step would be to apply for your F1 Visa and book your F1 Visa interview appointment, and;
- third step would be to pay a service fee and receive a payment confirmation before you attend your F1 Visa interview.
These are the three simple steps that you should follow after you’ve received a form I-20.
The next phase you’re going to be working on is getting ready for your F1 Visa interview.
READ: F1 Student visa Interview Questions and Answers.
I hope this article has been helpful to you.
Disclaimer: This site is not owned by any U.S Government Agency or an Immigration attorney. The contents in the site/post is for informational purpose only collected from various public domains. You may need to contact an Immigration Attorney for your specific immigration needs.